Rebel STARFIGHTER TACTICS Explained | Star Wars Battle Breakdown EckhartsLadder 6:30 6 years ago 120 034 Скачать Далее
The Basics of CAPITAL SHIP COMBAT Explained | Star Wars Battle Breakdown EckhartsLadder 10:03 6 years ago 638 318 Скачать Далее
The Awful First Death Star Attack, and a Better Strategy | Star Wars Battle Breakdown EckhartsLadder 7:00 5 years ago 107 494 Скачать Далее
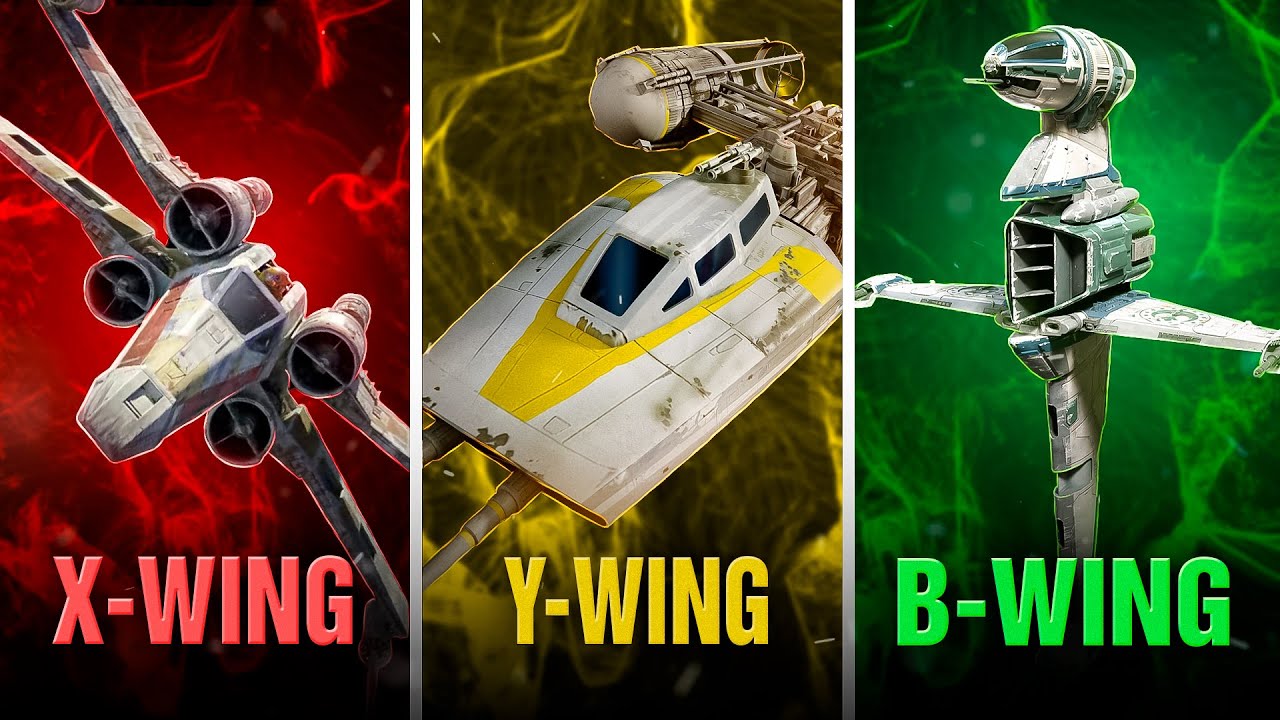
EVERY SINGLE Rebel Starfighter Type/Variant Explained! Red Five 12:27 5 months ago 130 803 Скачать Далее
How the Rebels Destroyed an IMPERIAL FLEET with NEW X-WINGS | Star Wars Legends EckhartsLadder 5:47 6 years ago 501 627 Скачать Далее
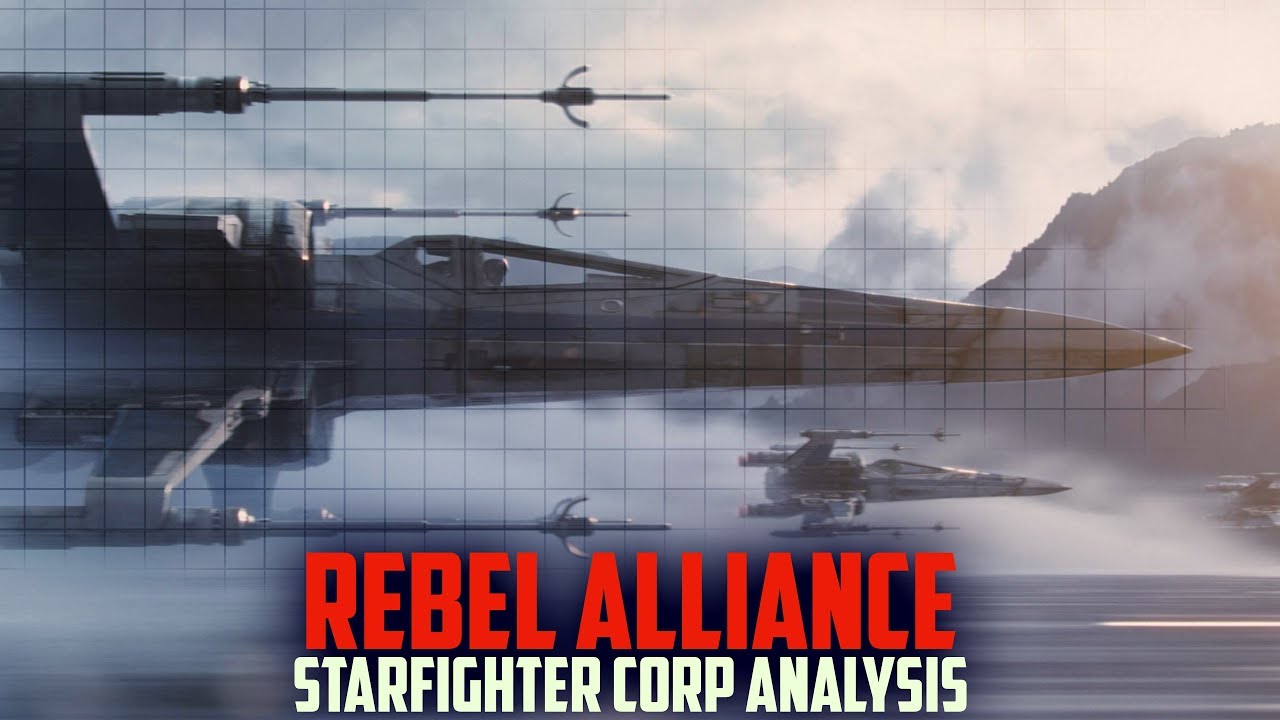
Rebel Alliance Starfighter Corps | Star Wars The Templin Institute 11:14 3 years ago 85 635 Скачать Далее
Thrawn's New GENIUS Tactic -- the THRAWN CATAPULT -- Explained | Star Wars Battle Breakdown EckhartsLadder 7:14 4 years ago 206 730 Скачать Далее
How the Rebels won the Battle of Endor | Star Wars Battle Breakdown EckhartsLadder 5:55 6 years ago 582 760 Скачать Далее
The Definitive Guide on How Star Wars Space Battles Actually Worked Geetsly's 10:45 1 year ago 63 883 Скачать Далее
Understanding the Role of Each Rebel Starfighter Generation Tech 11:01 4 years ago 114 493 Скачать Далее
How Rogue Squadron won the BATTLE OF CORUSCANT | Star Wars Battle Breakdown EckhartsLadder 10:04 5 years ago 396 122 Скачать Далее
Rebel Fleet & Starfighter Doctrine: How the Rebellion Waged War Against the Empire (Part 2) Star Wars Reading Club 11:29 5 years ago 14 521 Скачать Далее
Why the Y-Wing was the PERFECT Rebel Bomber (...and NOT just a worse B-Wing) | Star Wars EckhartsLadder 7:59 4 years ago 119 288 Скачать Далее
All Rebel Starfighters and Wing Ships - Star Wars Explained Star Wars Explained 6:33 8 years ago 1 208 698 Скачать Далее
How the Empire could have won the BATTLE OF SCARIF | Star Wars Explained EckhartsLadder 7:21 6 years ago 601 103 Скачать Далее
The Empire's Awful Tactics at the Battle of Hoth | Star Wars Battle Breakdown EckhartsLadder 6:37 6 years ago 566 067 Скачать Далее
How Thrawn defeated an Entire Fleet with Three Ships | Star Wars Battle Breakdown EckhartsLadder 7:37 6 years ago 1 521 170 Скачать Далее
How to Survive Star Fighter Combat in Star Wars Generation Tech 11:50 4 years ago 97 830 Скачать Далее